|
|
|
- Below -
Date:
2003
Client:
Jim
Kitchen Design & Install:
Michael Ravenscroft
Project Description: Kitchen Renovation with major layout redesign. Carpentry, Plumbing, Electrical, Drywall, Tiling : Michael Ravenscroft Kitchen Renovation Location: West Vancouver B.C. |
|
|
 |
 |
 |
 |
|
 |
 |
 |
 |
|
|
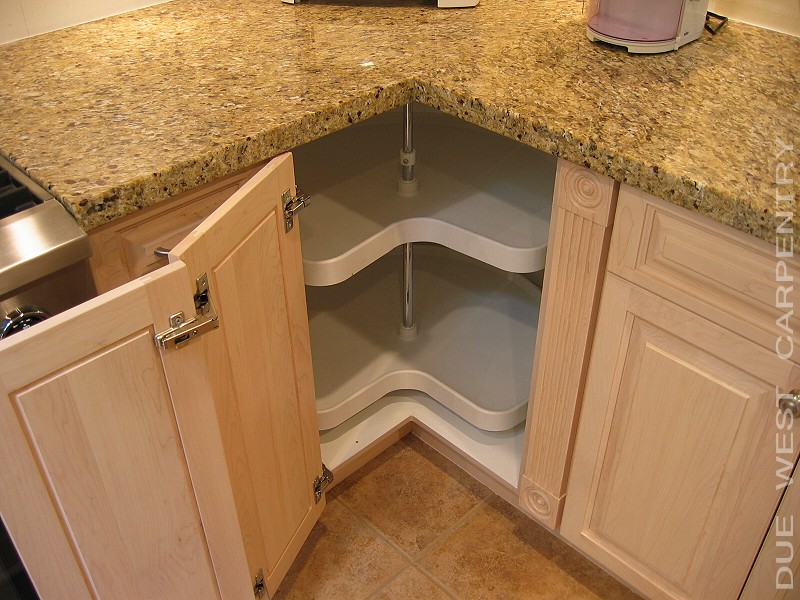
Points of Interest:
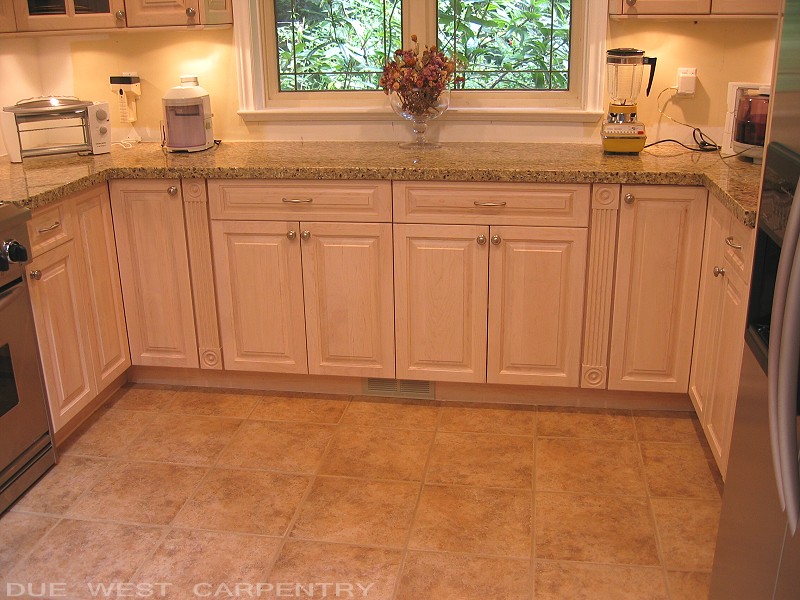
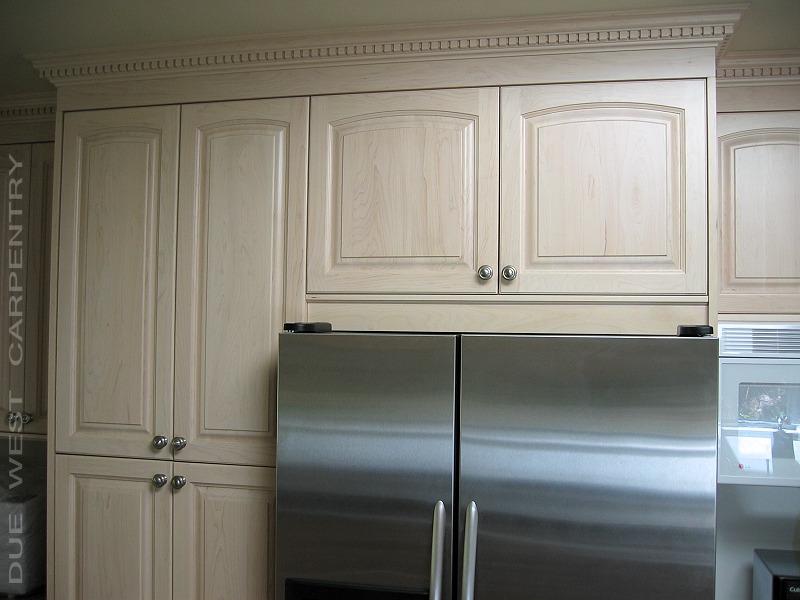
I specified the under cabinet valance moulding to match the inside 'coving' detail on the cabinets doors. I was looking for a 'slimmer'
more refined look to match the other finer details of the cabinets, like the crown mouldings, 'post flutes' and the doors an drawer's themselves.
Other considerations like how wide the 'stile and rail' profile should be. (This is the ouside perimeter piece if the door)
The standard is 2 1/4, but I find this to narrow especially on a 42" high upper cabinet. Then of course there are different 'inside' and 'outside'
profiles as well. If you prefer a 'raised' panel door instead of just the 'shaker' and budget allows for all that extra hardwood you can choose from
many panel profiles aswell. In summary, the 'details' can really determine and define the outcome of your project and the right guidance is paramount for amazing results.
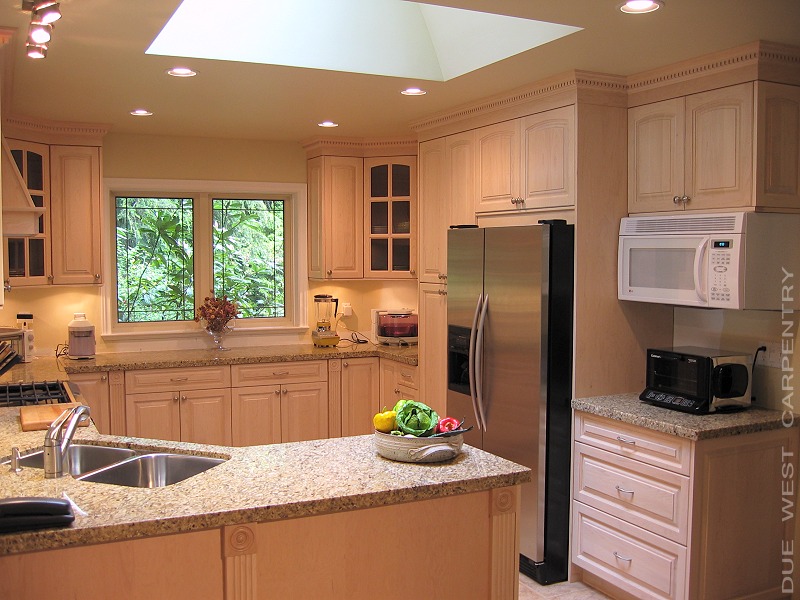
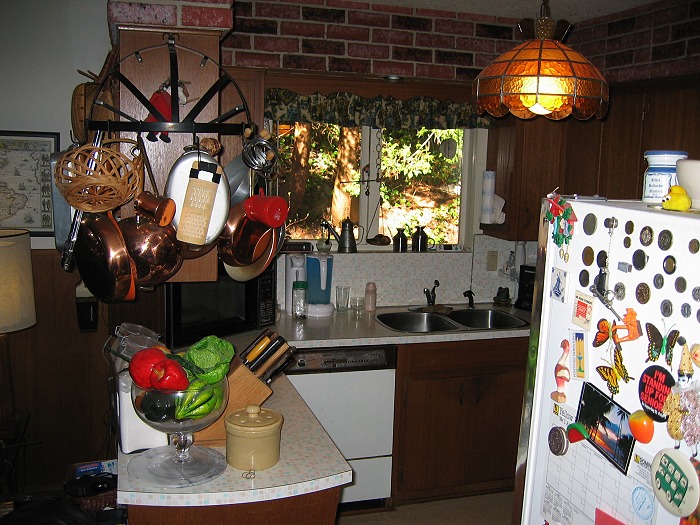
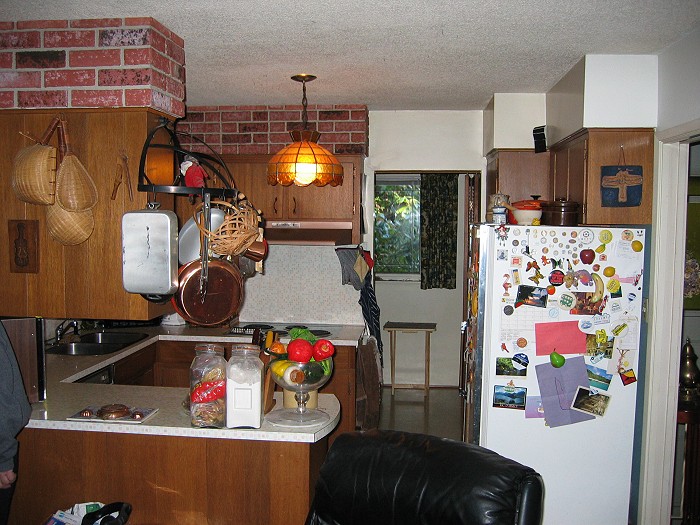
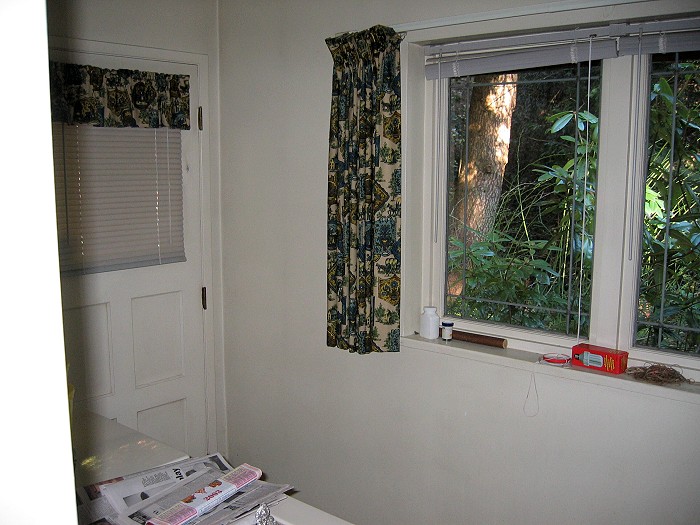
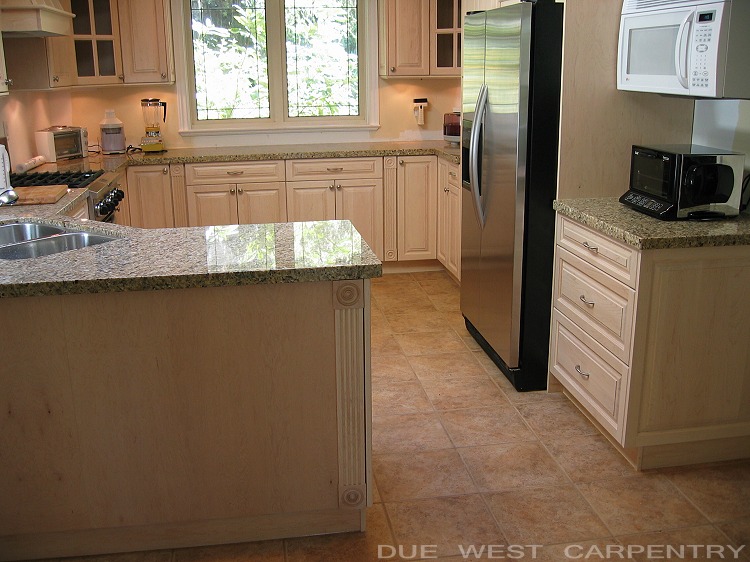
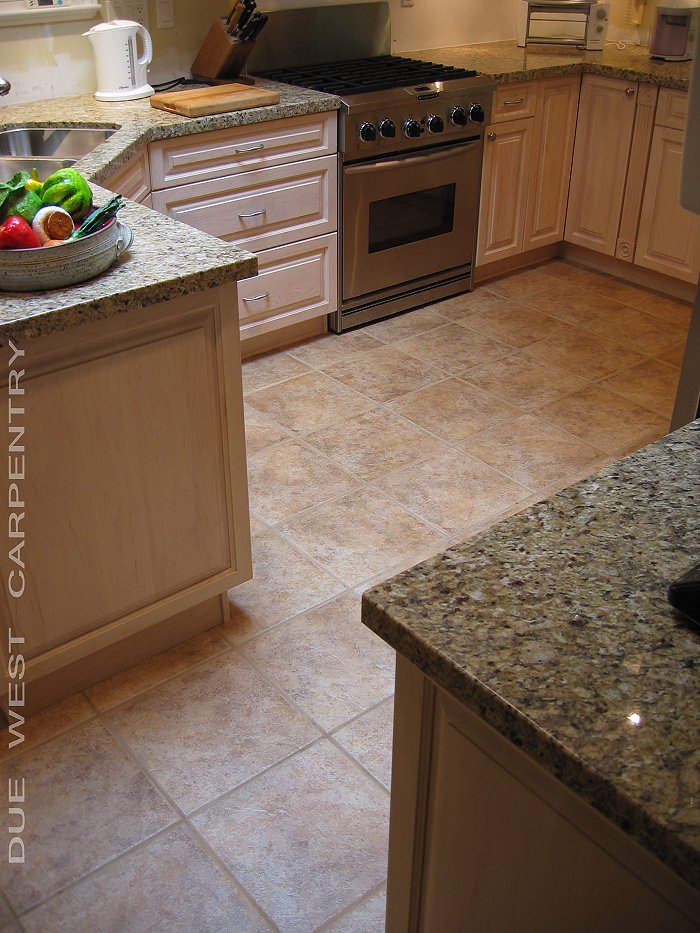
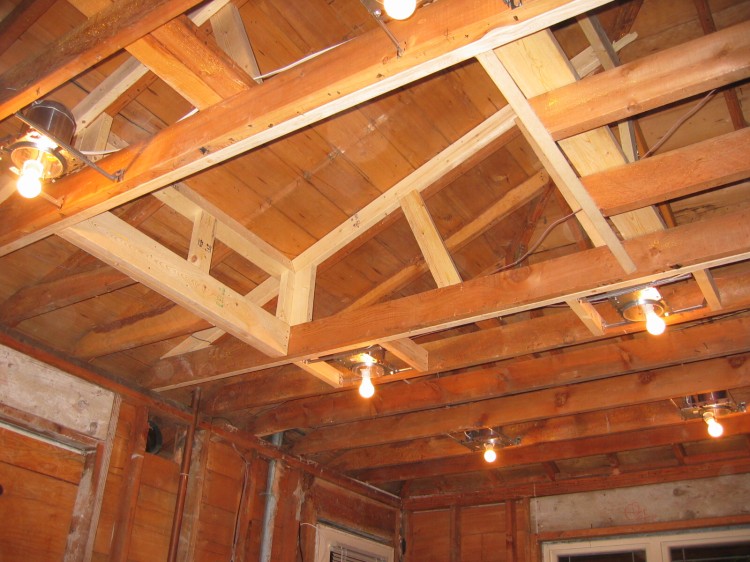
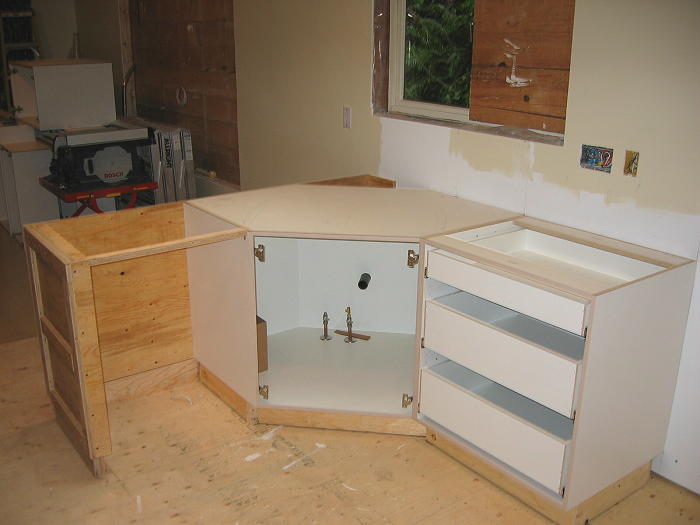
This home dates back to about the early 70's. Project priorities consisted of making the kitchen much larger and providing more natural light.
The kitchen was made larger by moving the laundryroom downstairs, removing the seperation wall and sealing the back door up,
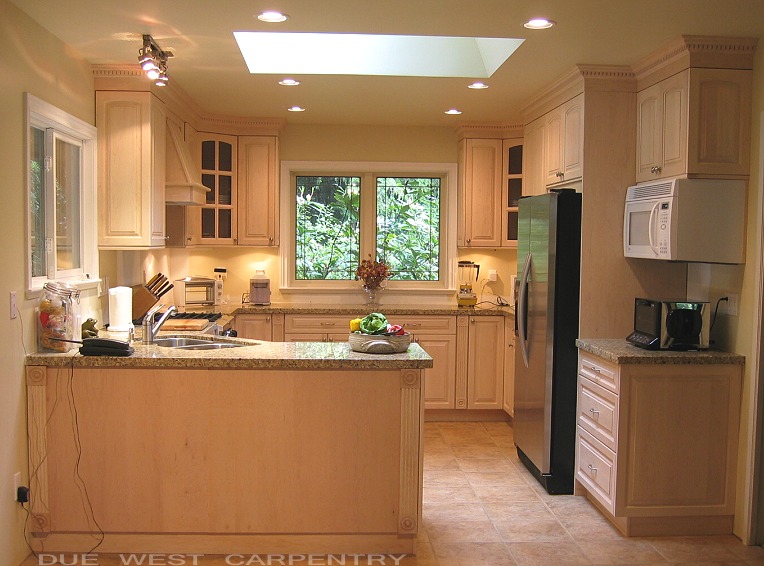
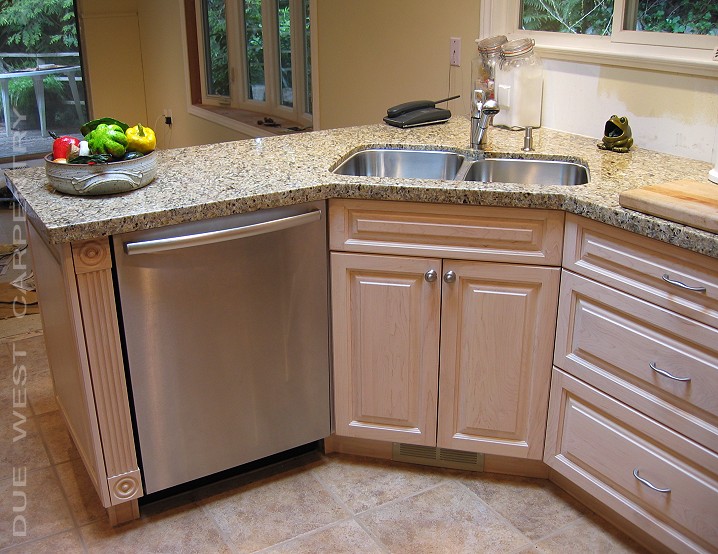
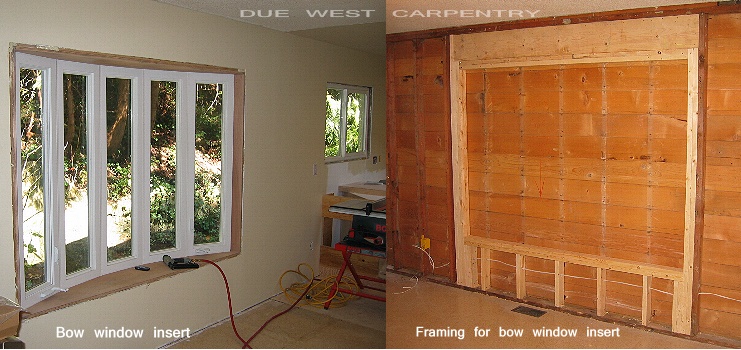
allowing the kitchen to be lengthened approx. 5ft. Next, very large openings were created for a skylight and 'bow window' insert. Design elements: Jim was another one of my clients who really enjoyed cooking. He was also very specific about having a gas stove and a wooden range hood over top of it. He also wanted the cabinet doors to be a 'raised' with 'arched' panels. He was very specific about the stain color aswell, just as all my clients are. He had a very specific color in mind from a kitchen he had seen before. After some discusion I returned the next day with a door sample that was the exact color he had in mind. Now onto the kitchen design. Now with all this extra space from the laundry and closet room being moved out, I felt like a kid in a candy store. It's not often that I get this much area to design a kitchen unless we are doing an addition. With all this exta space it was still important to keep those 'work stations' close together. Jim had done a lot of hiking through out the world like the 'Andes' and such, but im sure the last he wanted to do when he arrived home was 'take a cab' from his fridge to the sink. In this 'layout' you will notice the dishwasher was moved into the 'peninsula' by adding a angled cabinet and building a cabinet extension on site. This allowed the stove to be brought around and have the fridge directly accross from these work stations. I know what some of you might be thinking! A counter top overhang or bartop counter on the family room side of the peninsula would have been the perfect 'wine sipping' guest lounge area whilst food was being prepared. However Jim felt this would encroach to much on his dining room area and his need for a formal dining table of certain proportions. |
|
|
 |
 |
 |
 |
 |
 |
 |
 |
 |
 |
 |
 |
|
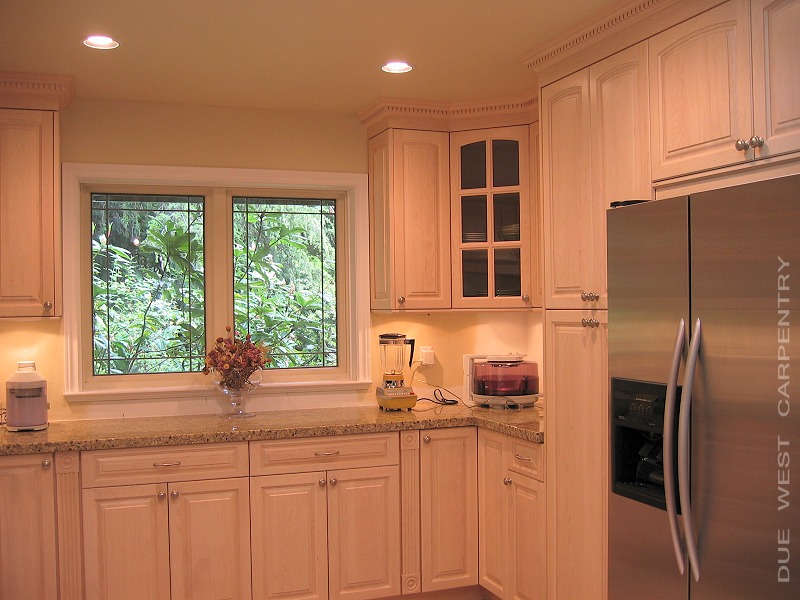
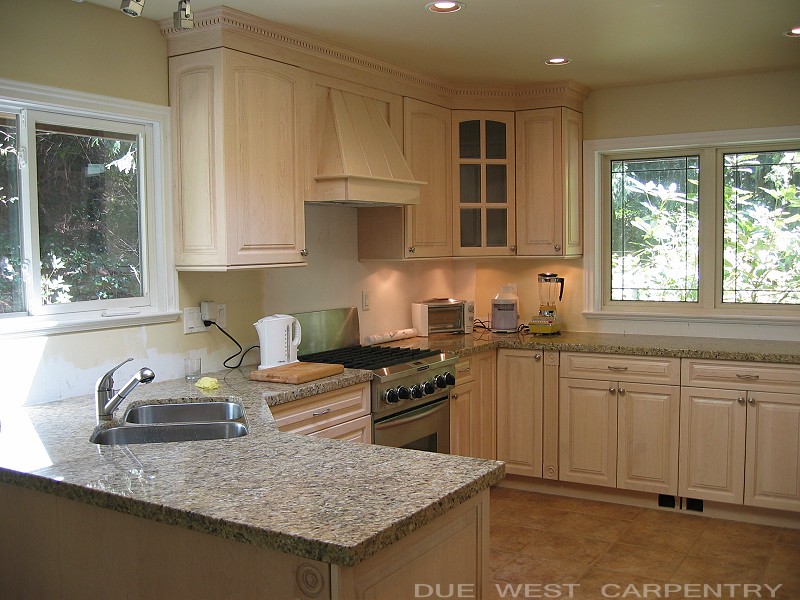
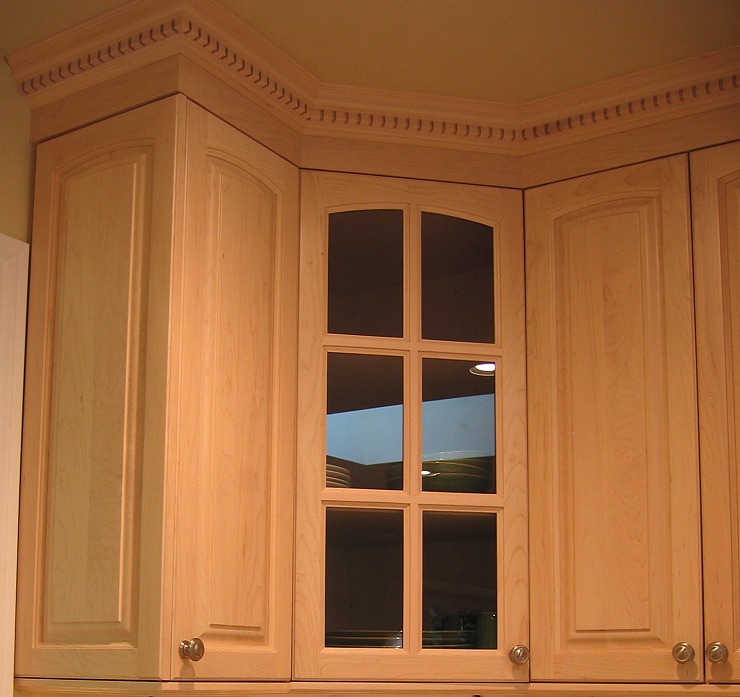
The Details: The crown moulding on these kitchen cabinets is called a 'dental' moulding for obvious reasons. This 'dental' style had become quite popular in recent chalet/heritage exterior designs after its rebirth in the kitchen
scene. Installing this moulding is such a pleasure. As previously mentioned all kitchen 'millwork' is prefinished and delivered in 8ft, 10ft, or 12ft
lenghts ready to be cut and assembled on site. If you look closely at the picture closeups of these dental mouldings you will notice that the little
'squares' have to be joined to each other at each 'cut'. So for example in one corner you could cut both pieces right in the middle of these squares
and join them. So now that you have done that, what makes you think the next piece that you cut and join will be in the middle of this square?
Remember both joining peices have to be cut in the same area of the square or they will not mate to each other. For some carpenters its hard
enough doing crown mouldings even when caulking and paint is being used. Prefinished materials don't allow you to hide little gaps and
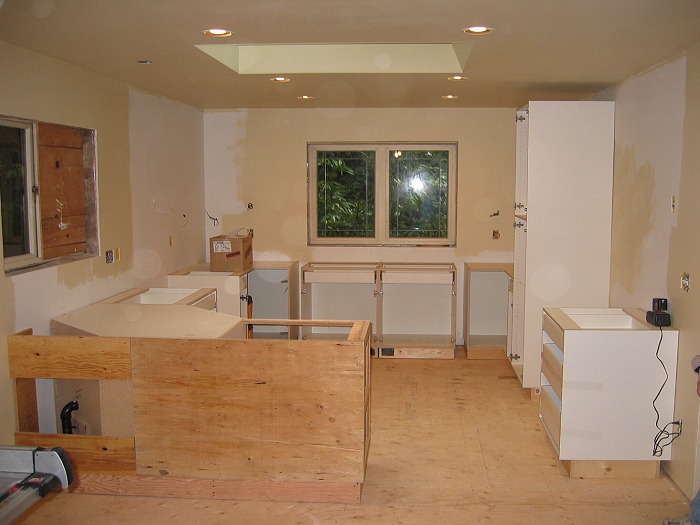
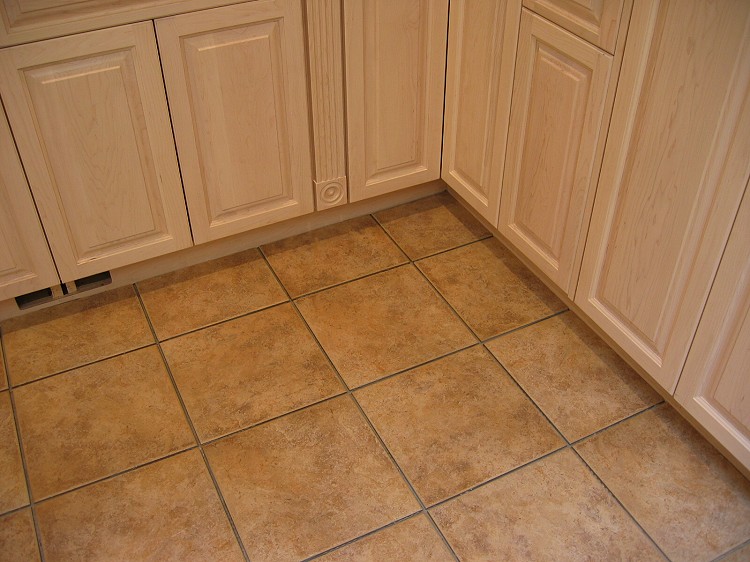
imperfections. It has to be perfect. The moulding should look like someone just 'bent' or 'wrapped' it around the cabinets. The lighting You can really see the difference the 4X4 velux skylight made to the natural lighting in this kitchen. Add a few recessed lights in the right locations. And I do like to say 'right locations' because when the lighting is designed into a kitchen considerations must always be made not just on spacing, but what the light will cast itself on and by how much. It is very important that there are no unlit areas when opening drawers, pantries, ovens, cooking and preperation counters etc... And yet the floors need a certain amount of illumination and the fixtures themselves should look symmetrical to each other. Under cabinet lighting is an effective way to obtain more counter top light and Pendant lighting offers a personal client touch by featuring an area with illumination and by accessory definition. Another important aspect to recessed lights is the diameter of the light 'can' and wether it is low voltage or line voltage. Both offer noticeably different types of light. Some brands of recessed lights don't allow the bulb to be 'flush' or recessed to the fixture itself and some even make the bulb stick down below the trim kit itself. This can sometimes be rectified by using a 'short neck' bulb which only comes as a halogen bulb which gives a better natural light anyways. Note: At the time these pictures were taken the 'Back spash' tile had not been installed yet. |
|
|
 |
 |
 |
 |
|
 |
 |
 |
 |
|
|
|

|