This Project has a Letter of 'Reference' (Direct Link)
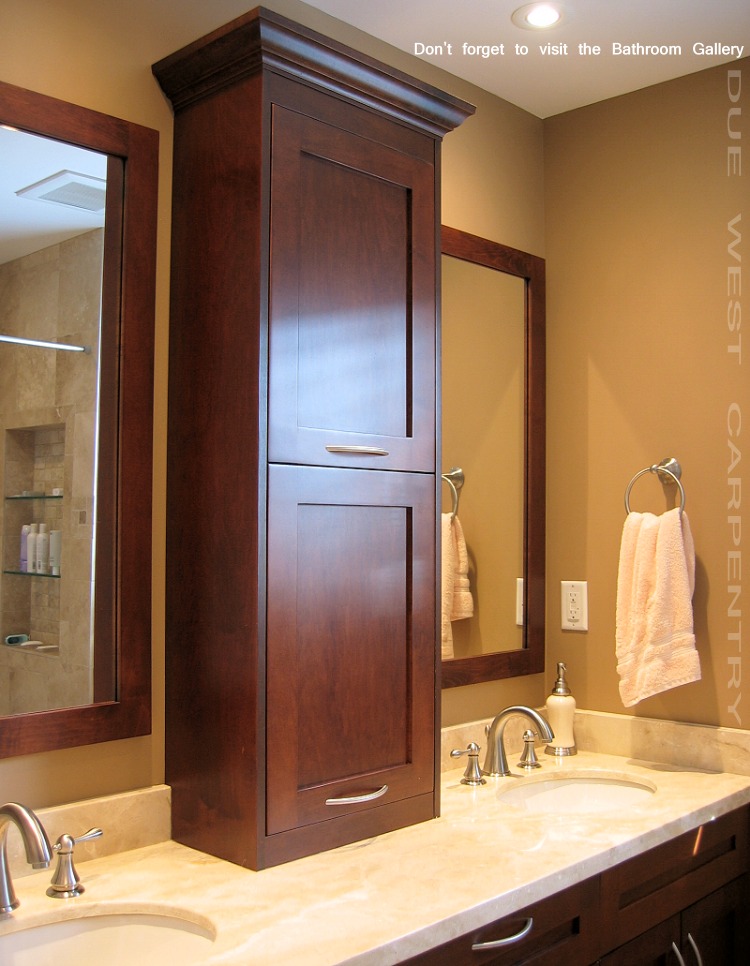
This Client has a Bathroom Renovation Fully Featured in the
'Bathroom' Gallery (Direct Link)
This is one of 6 units in a town househouse complex which dates back to around the mid eighties. I originally met Bob while doing a similiar
renovation on one of the units next door. Even though the budget was lower next door, they liked what they were seeing and gave me a call
a few years later to discuss their ideas. This renovation included the Kitchen, guest bathroom, ensuite bathroom, new flooring through out,
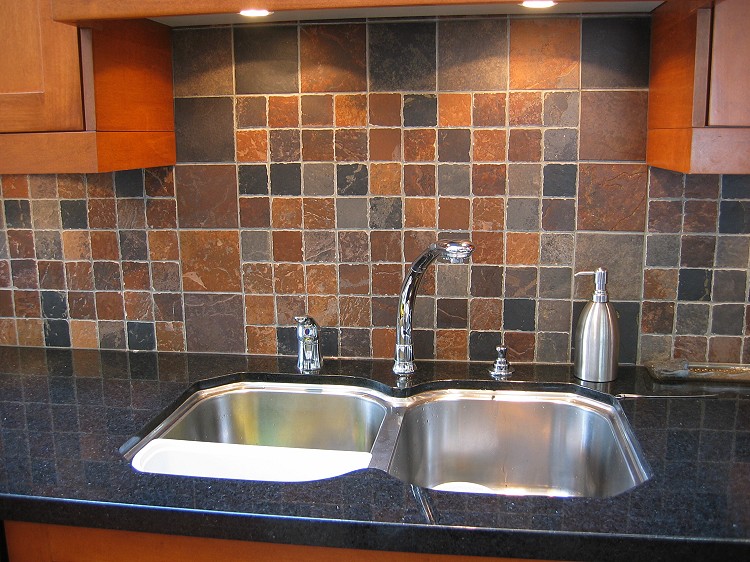
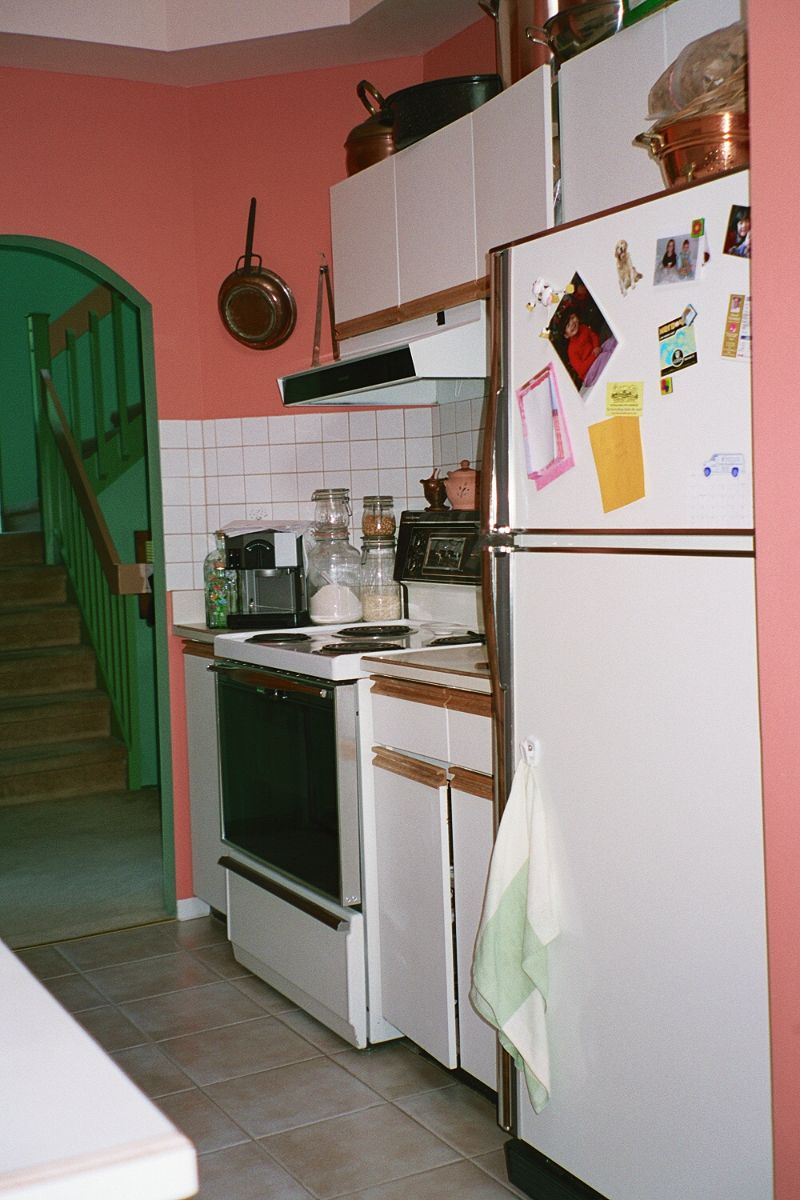
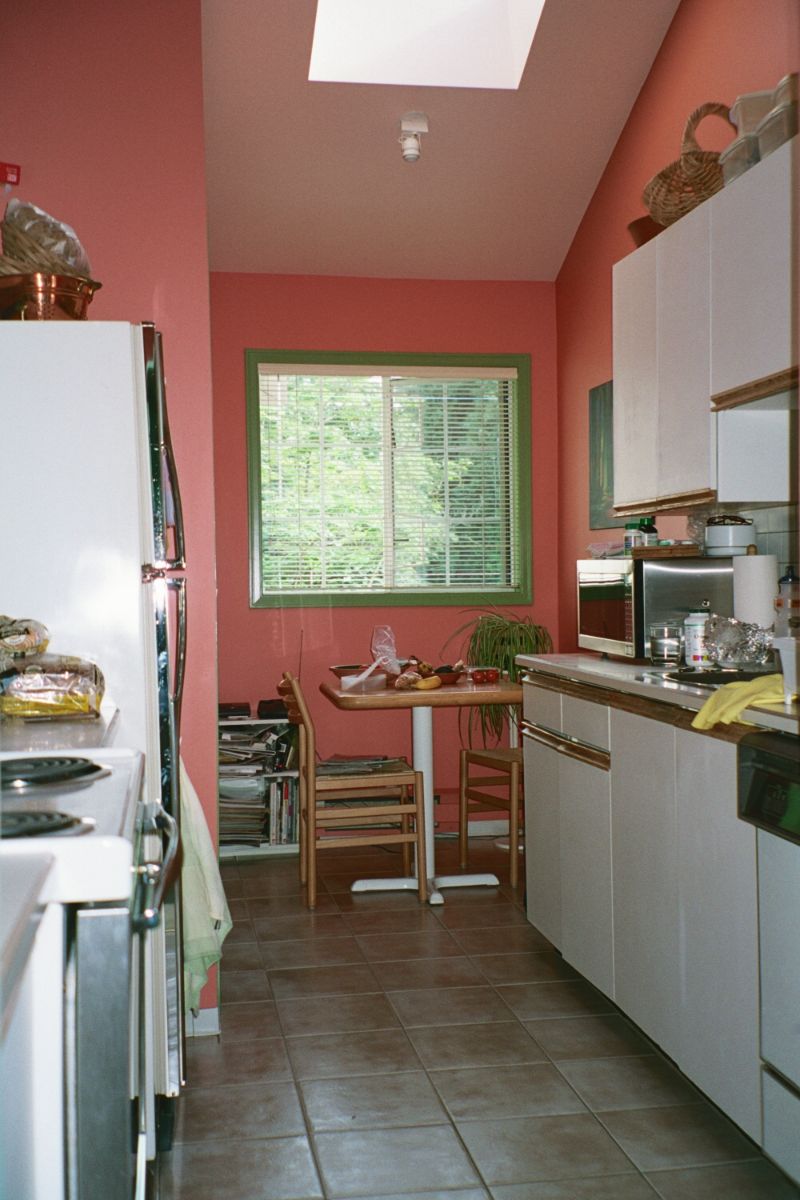
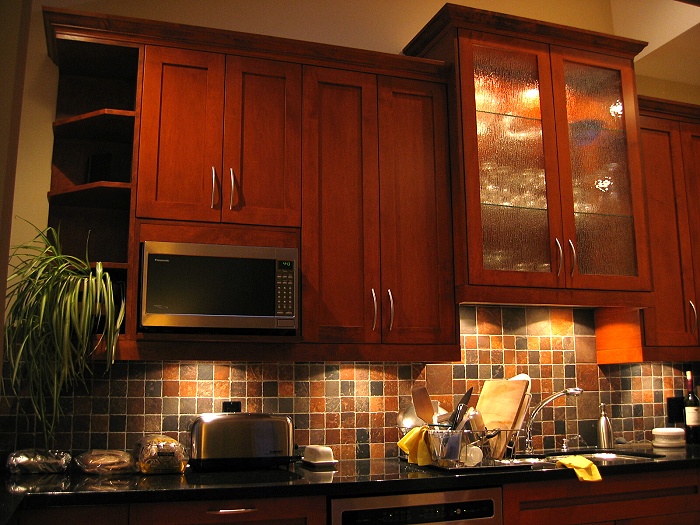
fireplace remodelling, lighting changes, and painting. The first item on the itinerary was to open up that cramped galley kitchen.
Design elements: When I had my initial meeting with Bob and Sharon, it was obvious they had spent some time together discussing
how they wanted their home to be changed in harmony with each other. They were prepared and eager, which allowed me to spend all my
energies on collaborating my creativity with their ideas and focusing on more technical facets of the project.
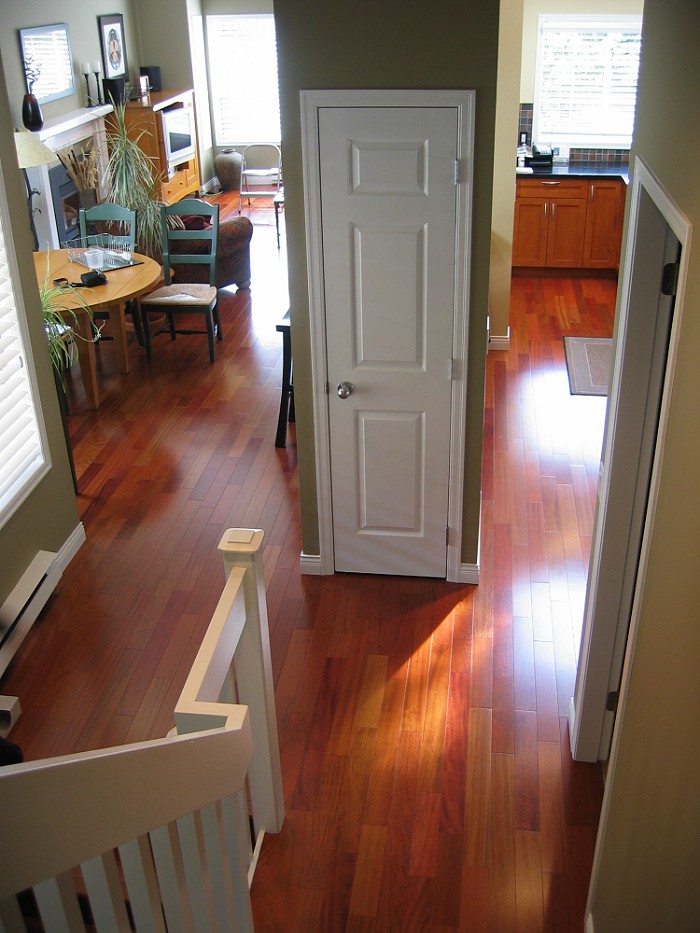
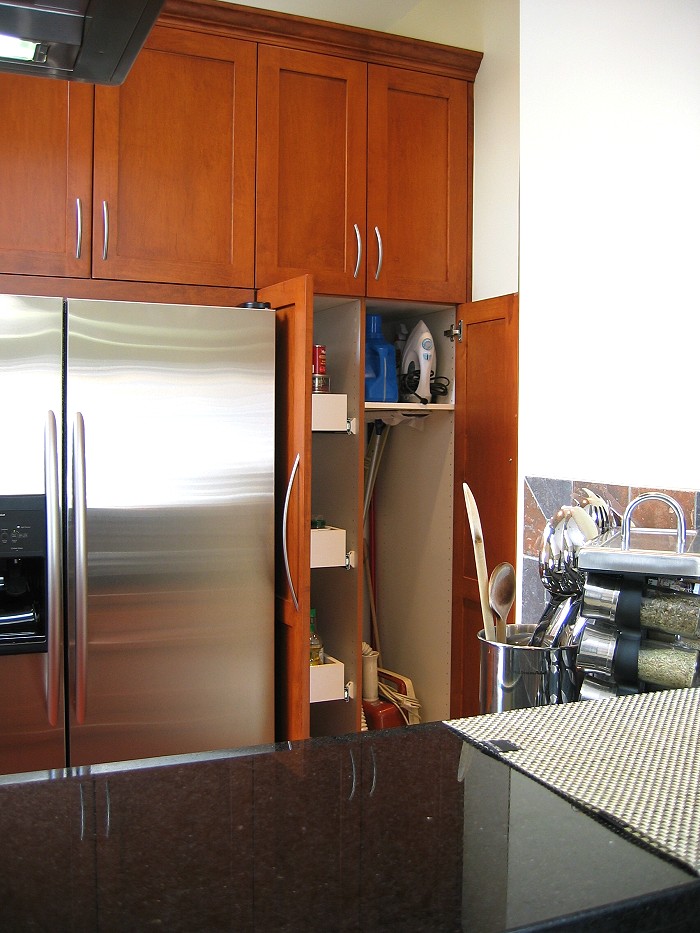
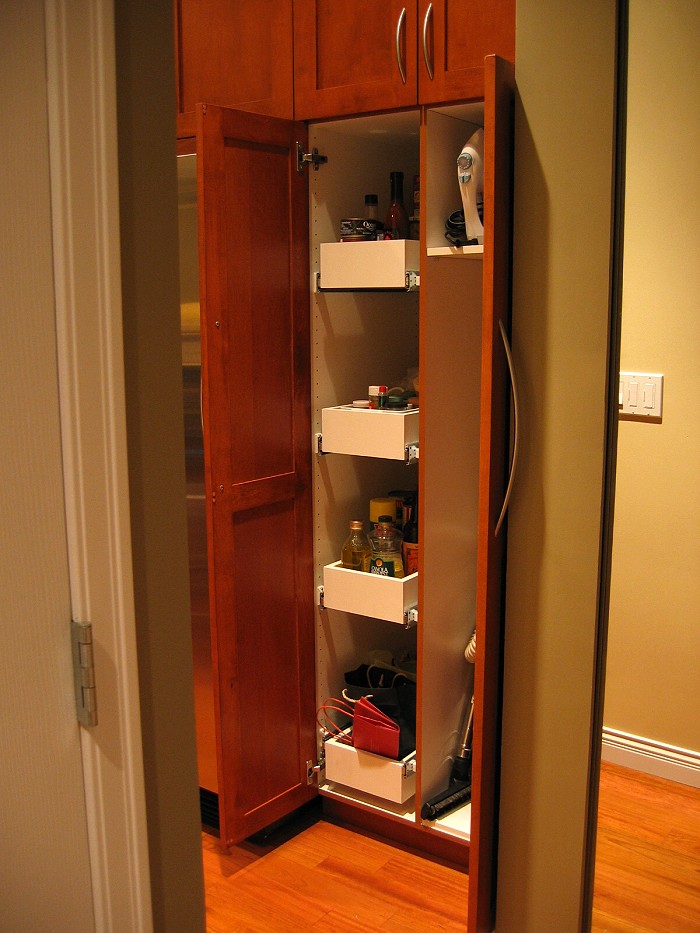
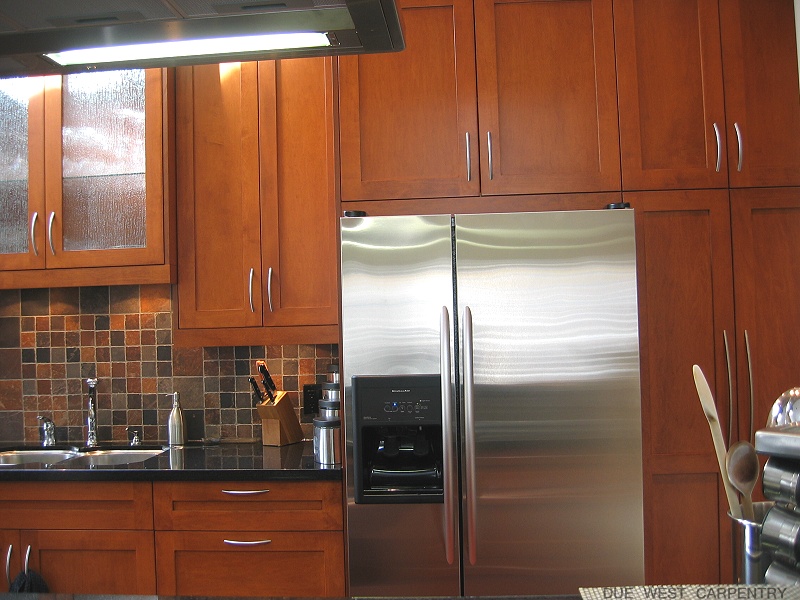
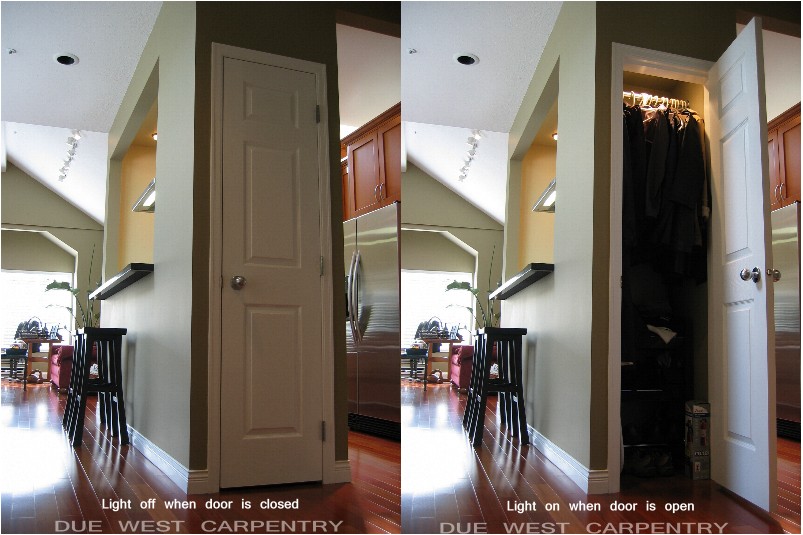
The main objective with
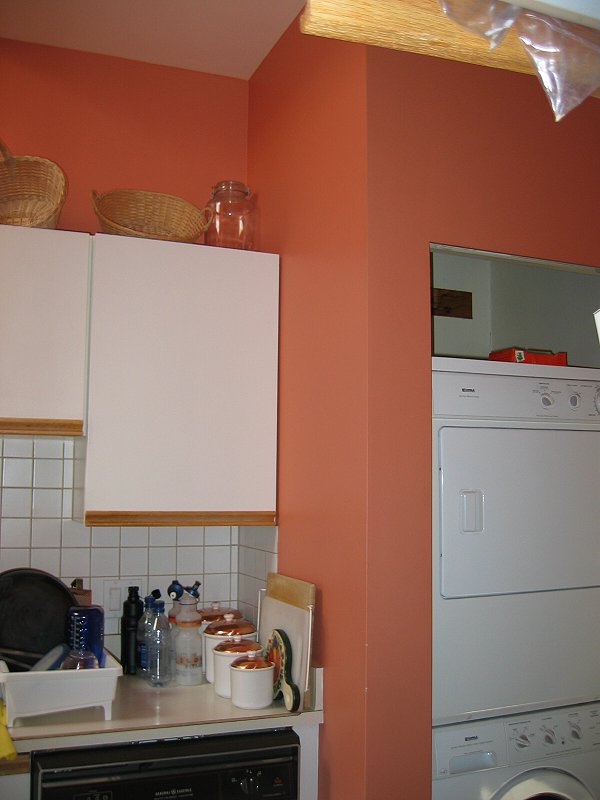
this reno was to 'open it up'. This was done by removing walls, creating openings, relocating the washer and dryer closet, adding a 'squared off'
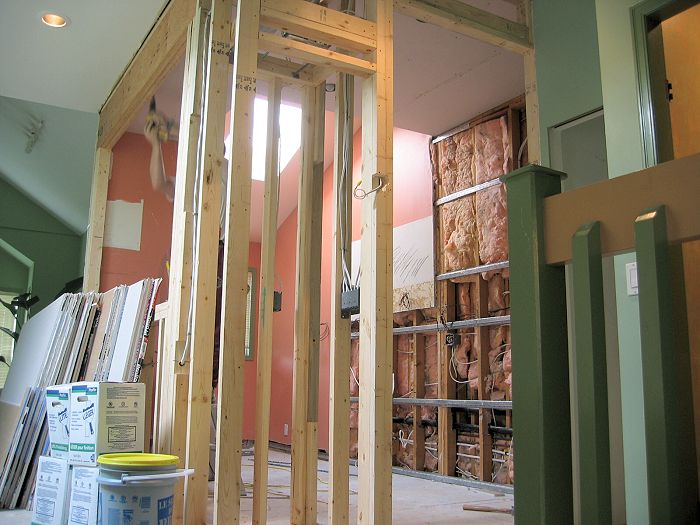
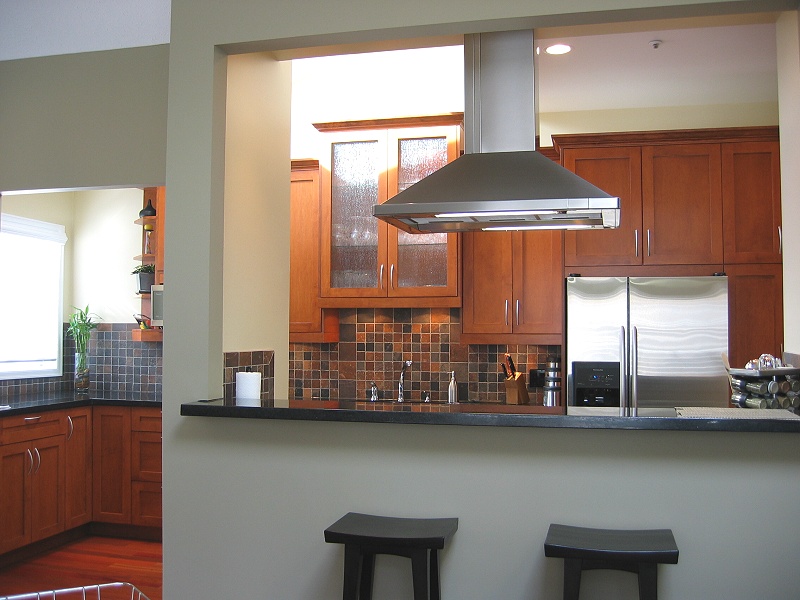
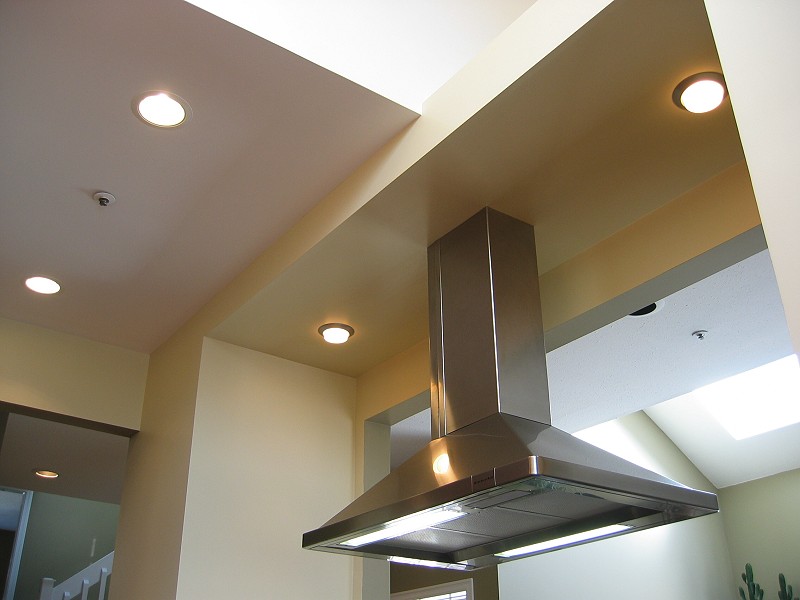
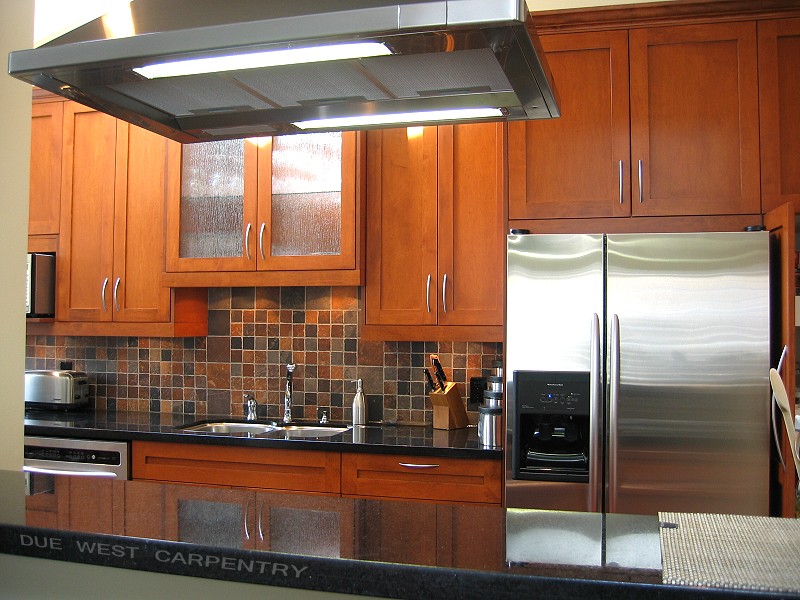
guest closet and raising the entry way heights to match other openings for uniformity. The 'bar top' opening required structural 'weight bearing'
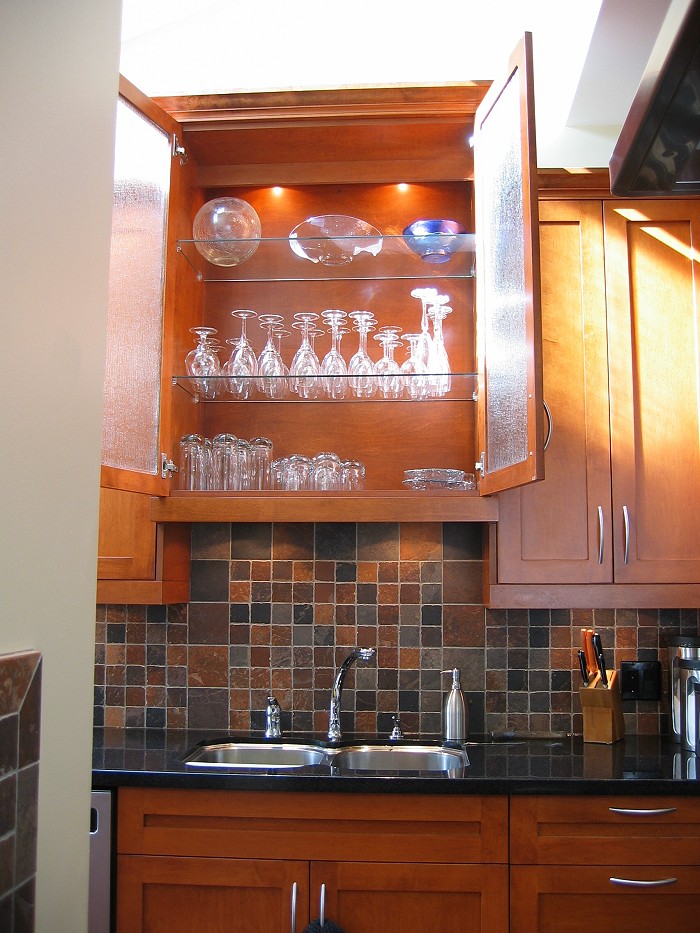
changes because of a multi point roof load on that area. Above the stove I built what seams to look like a 'floating platform' which carries the
duct work for the stove. I built it the same width as the back of the new closet for a nice look of vertical and horizontal continuity. I had to keep
the 'drop down' height to a minimum of 6.5" overall including drywall so that the bottom of the 'range hood' would be high enough not to obstuct
the view into the living room. So the 6" duct piping and the extra support framing to hold the weight of the hood had to be surgically fitted into
this area. Plausible but a pain, but definetly worth the extra time and thought. I also modified the two peice 'telescoping' 'range hood' shaft
because we were using it at the 'minimum' requirement which happened to leave a 1" interal piece showing on the inside at the top.
I did not like the way this was going to look so I modified it in a way that only the outside tunnel portion was used.
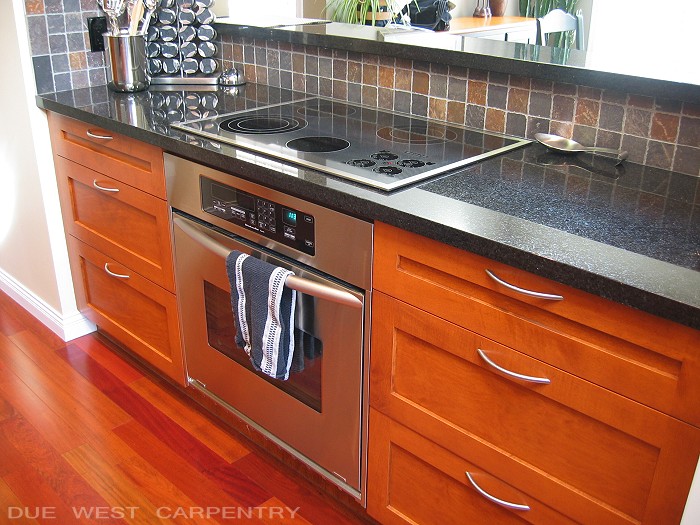
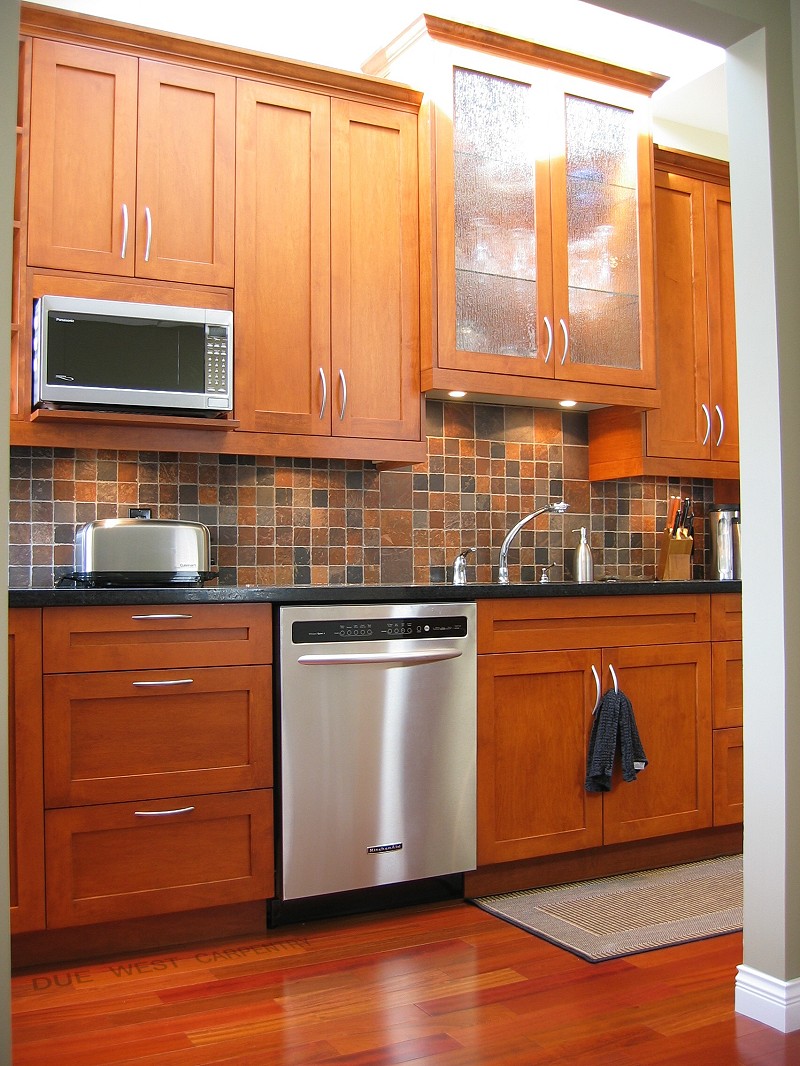
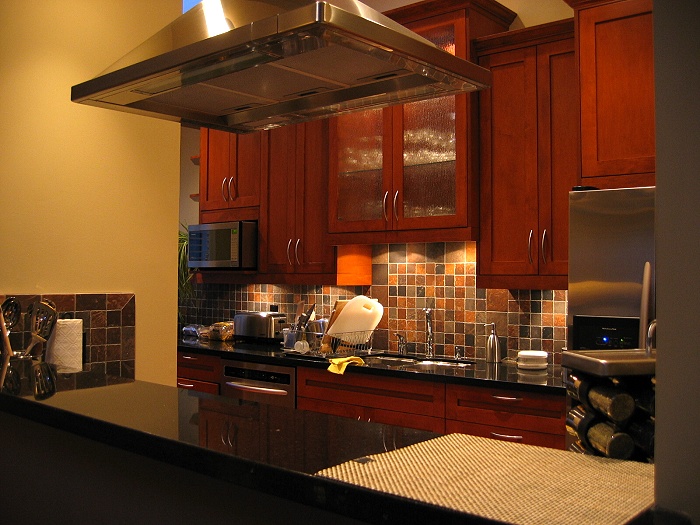
Points of Interest: As far as hardwood flooring in the kitchen goes,
there was no convincing Sharon otherwise, and why not. There was no worry of kids, or dogs, and she enjoyed cooking, so she had the time
and patience to be carefull not to drop knives, pots, food, or any other damaging objects on the floor. Just in case, I did recomend the brazillian
cherry. On the 'Brinnell scale' of hardness it rates at about 9 out of 10 compared to eastern maple or oak which is about 3 out of 10. This isn't just any cherry either. It is 'Mirage' brand, they are an industry leader in hardwood flooring. Combine that with a 'satin' finish and it protects and hides
a magnitude of flooring sins. I have been a guest at the 'mirage' plant in quebec and have many years of installation and sales experience to know
what makes the difference amongst flooring manufacturers. You can find out more about this in our 'flooring gallery'.
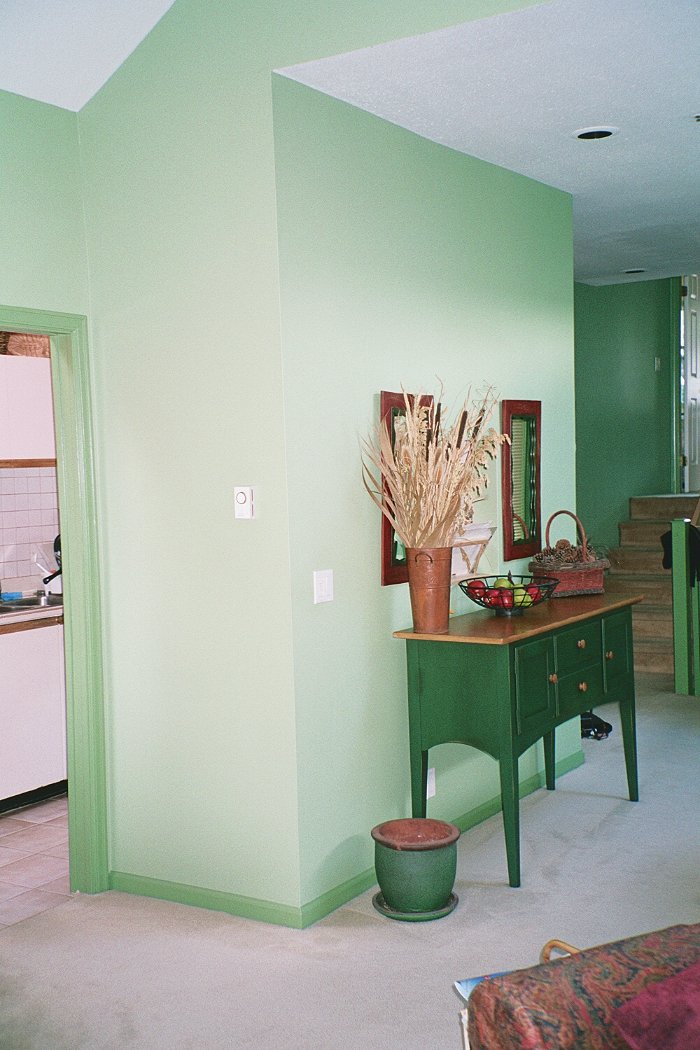
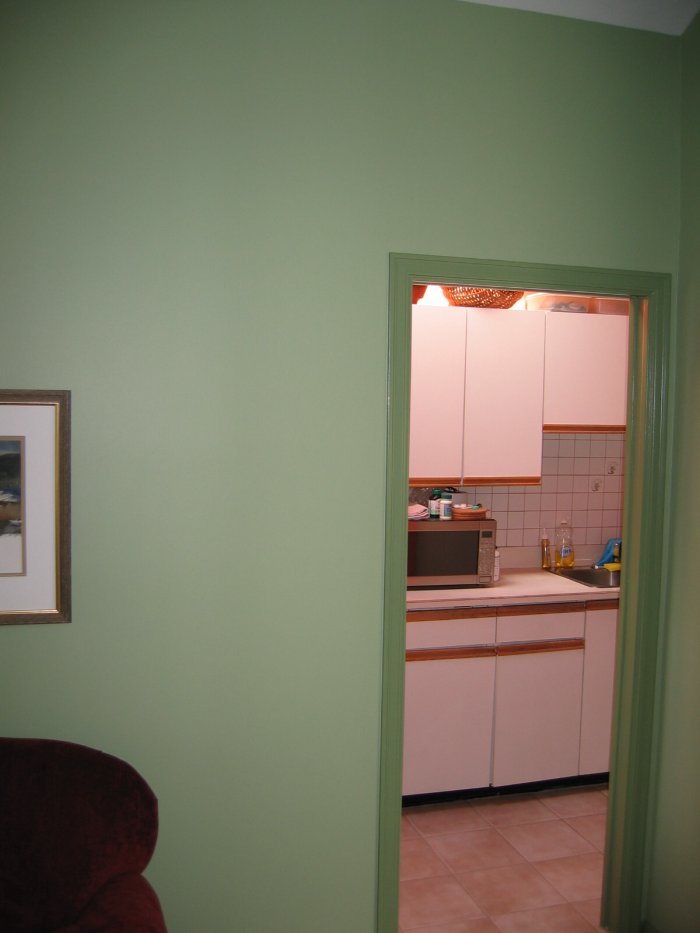
Pictures during the renovation:
Photo 1
Photo 2
Photo 3
|


